
Hi, this is Wayne again with a topic “How to make your own GIF in Photoshop”.
( upbeat music ), You probably see and use GIFs online every day, whether it’s to share your reaction to something or to spice up your Instagram or to argue online about how it’s pronounced. But what if there’s no perfect GIF out there that expresses how you’re really feeling Easy you just make one yourself. There’s a lot of different ways to make GIFs now and it’s actually easier than it’s ever been. Using a YouTube. Video takes the least amount of effort, because GIPHY has online tools that lets you cut out specific parts..
You can also use their desktop app to drag the part of the screen. You wan na capture and recording the clip you need to your computer, but if you wan na expand past this and stand out with something more original, you’ll wan na make your own. To begin. You need a basic understanding of animation.. A GIF is nothing but a sequence of frames.. It’S like a digital version of a flip book.. If you take any GIF from the Internet and open it in Photoshop, you can see all of the individual frames it’s made of.. This short GIF is 41 frames..
Each frame is showing one layer of the image at a time and when you put it all together, it creates a tiny story.. We can see that it takes about 20 frames for the dog to walk up to the gate and maybe 10 frames for the dog to actually pass through. But your GIF doesn’t need to have a lot of frames to make sense..
It can be as basic as two or three frames and that’d be enough to get the point across like this drawing I did of me typing away on a keyboard, which is just two frames.. Looking at frames can be helpful if you wan na study, motion and timing. Like in animation, you’re, creating an illusion of movement through a bunch of still images put together.
The more frames you have in your file, the smoother the motion will be and the more complex Your animations can get not to mention your file. Size gets bigger, too., Here’s one that’s made of five frames.. So let’s make a GIF. I’m going to open up this GIF in Photoshop and use it as a guide to draw a version of yourself break dancing and I’ll have a link to this GIF in the description box.
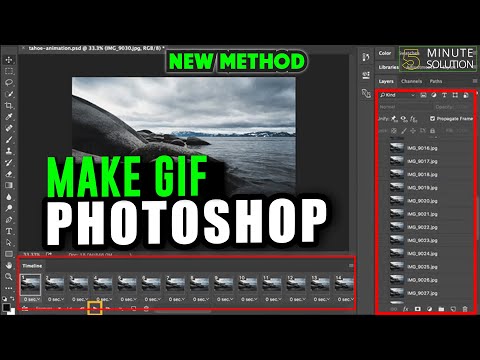
Below. Basically you’re going to draw over this using it as a guide and it’s kind of like a technique called rotoscoping in which animators draw over live-action footage.. Now we have our GIF opened up in Photoshop and you can see. I have the five layers here and the animation timeline on the bottom, and the Layers panel is where you can see which layers will be visible in each frame. So I’m going to use this as a stencil and create a new GIF.. So I’m gon na create a new layer here and adjust the opacity of the bottom layer. So I can use that as a guide and I’m just gon na draw, maybe like a bear over this.. So now that we’ve drawn our five layers, we’re gon na go back and delete the original stencils that we worked off of just to clean up.
Our workspace. Now go to the timeline and set it so that each frame is showing one layer at a time.. So we’re gon na start on the first frame and make it so that the first layer is the only layer, that’s visible and do the same for the second frame, but only this time it’s the second layer, that’s visible and you’re gon na do this for each Frame in the timeline. Just make sure that only one layer is being shown at a time.. So now that we’ve cleaned up everything. Let’S test this out and press play by pressing the space bar and it looks like he’s going kind of slow.
So we can adjust the speed of the animation here.. You can go to the bottom of the frames in the timeline and this panel shows exactly how long each frame will be shown. So I’m gon na change this to 0.1 seconds and you can do this for each frame and let’s test that out.. So that looks great. So now, let’s talk about how we’re going to export this, so you can actually use it on the web.. So before we go to export, make sure you go below the timeline and set looping to forever, because you want it to keep dancing forever and then you go to File Export, Save for Web and make sure the looping options here are also set to forever..
And here on this window, you can set your GIF file size., Keep in mind that most platforms have file limits of like five megabytes and it looks like we’re way under that, so we’re in the clear. So just hit Save and you’re ready to go.. So now, let’s take a look at our finished product.. Look at him, go., I’m just so filled with pride. Looking at my dancing bear son.. I think I would use this to express like a victory, dance or I’m like TGIF whatever..
I’M just really happy to see it go. Thanks for watching For more videos like this make sure to subscribe to The Verge, and let me know in the comments how you pronounce GIF.: Is it GIF or GIF? It’S GIF. Either way. I expect all of you to be tweeting me, your GIFs .