Hi, this is Wayne again with a topic “Darbin Orvar: DIY Lego Storage Box”.
Hi, i’m lynn from the dartmouth youtube channel and today i’m going to build a lego box. Well, i started with checking out how much lego i have and what approximate size i need for the box. The plates measure 10 inch square so to fit everything. I think i need something around 18 by 11 inches. This is kind of what i’m picturing a simple box, with an inset top that slides in and out and a divider in the back for the plates.

Also, perhaps walnut handles and feet in terms of design. I’M thinking old luggage trunk with stickers and labels. That kind of look. I want nice wood for this box, so i decided to go with baltic birch plywood, which looks great and is very strong.
So first i measured out what pieces i needed. This is half inch baltic birch and i cut them all up now. There are lots of ways to connect the box together. You can simply do butt.
Joints rabbits dovetails. If you want to get really involved or box joints. To mention a few, i decided to go with box joints because they are strong plus, it shows off baltic birch’s.
Fine layers really nicely. I can make any sized joint. However, i decided to make quarter inch joints.
I think that’s a nice look. Then there was just a matter of setting it up right and doing a lot of cutting on the table saw. I made a detailed video of how i designed and built this jig on my channel.
It’S important that two of the pieces are offset, so they connect perfectly when everything is cut. It’S also important that i count the right amount of spins with this jig. Next i went to the router table to create some grooves and rabbets to connect this box.
I want the bottom to be inset, so it comes flush with the sides. The top the lid, on the other hand, is going to slide in and out of this quarter inch dado, i’m also creating a divider for the plates in the box. So i’m cutting a quarter inch dado, which the divider will slide into okay. So now i have all my pieces cut and it’s time to glue the box together.
First, i’m putting some glue on the joints and assembling the box together, it’s good to use a heavy ballot and a protective board to get the pieces together. So there won’t be any gaps once all the sides were glued together. I used some clamps to make sure everything set up right. The way i designed this, i have to put in a divider before the bottom, or else it won’t go in for the bottom, the lid and the divider. I’M using one quarter inch plywood. Then i put some glue down on the rabbets and put down the bottom before gluing all this together. I divided the front piece of the box in two: that’s because i will glue in the lid in the groove of the cut off piece so to connect this properly, i’m first cutting off one of the box joints on each side where the top will go. Then i’m gluing the lid into the groove on the cutoff front and slides in nicely, and finally, i’m gluing those little cutoff pieces into the sides of the lid to make it look complete from the sides when the box is closed.

Okay, so now to get everything smooth, i’m sanding the whole box, starting with 80 grit and moving up to 120. now time to work on the walnut accent pieces. So i’m making a couple of cuts on the table saw here, i’m creating a rabbet and finishing it off with a shoulder plane inside then gluing and clamping two pieces together to get an l and finally gluing that on the lid to act as a handle. Next, i got a piece on the lid here and i’m just cutting up some sections, and these will be round feet for the bottom of the box, cutting them off one at a time and sanding smooth. Now i can secure them to the bottom of the box. Moving on to the side handles so here i have another piece cut up again: i’m cleaning the wood up with the shoulder plane and also softening up the corners with my mini plane, then cutting off two pieces for the handles and smoothing out the edges with a Rasp and some sandpaper marking out spots for the screw holes and making the holes and they’re ready to be glued and screwed the sides of the box.

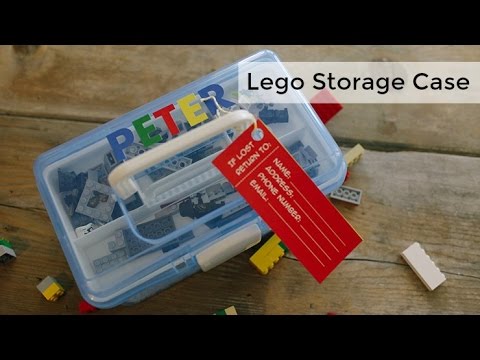
Okay, so i’ve got handles and feet looks good now for my trunk labels and stickers, i’ve printed out a whole bunch of lego related photos. I found online so just cutting them all up to put them on the box, i’m using decoupage, which acts as a glue. Sealer and finish so simply figuring out where i want each one and then once all the pieces were on, i brushed decoupage on top of each picture to seal them. Then, when that had dried, i put on two coats of dewaxed shellac to seal and protect the wood. I really like shellac, it’s a universal sealer. It goes on everything and it dries quickly to make sure the lid slides in and out easily i’m going to coat.
The groove, with some mineral wax for the top of the lid. I thought it would be cool to glue down some plates, so i’m marking out where the plates are going to go and then covering both sides with contact cement and then once it dries. I can put down the plates now. All that’s left is to fill the box with lego, so the box is complete and i really love the way it came out. It looks so cool and of course, it’s really nice to have the plates on top as well. My name is lynn, don’t forget to check out my youtube channel darpanorver, where you can find lots of more projects.
Otherwise, thank you guys. So much for watching and i’ll see you soon. If you liked this video subscribe to our website or send us a comment on facebook or twitter be sure to check out our other project videos or visit us on makezine.com, you .