Hi, this is Wayne again with a topic “Creating a Table of Contents in Microsoft Word”.
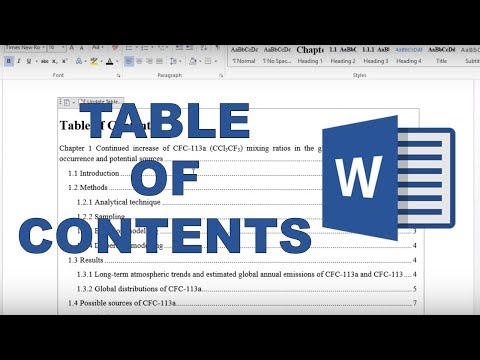
In this Microsoft Word tutorial, I want to show you how to set up a table of contents for your Word document and, as you can see here, I’ve got a document from NASA. In this case this is a 10 page document. So a pretty long document and a table of contents really might be helpful, but imagine instead of a 10 page document. What if I had an 80 page document or 200 page document in those cases, setting up a table of contents would be even more important. Now the first thing you need to know about setting up a table of contents in Word is that, in order to do it properly, your document has to use headings.
So you can see here at the top in the Styles group, on the Home tab home ribbon. It says heading 1. This particular document doesn’t seem to have those, so I’m gon na go in and put some into this document, so here where it says, introduction I’m gon na type in section 1 colon introduction now this could also be chapter 1. It could be part 1. However, you want to call that is fine, but then I’m gon na highlight it and go here and select heading 1. So that’s my first heading and now that I’ve set up this heading one of the nice things about that.
Is you get a little arrow that you can use to minimize or hide temporarily the contents of that heading, or in this case, that section and then I can just click to bring that back again, I’m gon na browse down the document of ways and find section. 2 here we go. I would like this to be my section 2 I’ll, just type in section 2 highlight that and click on heading 1 notice that now it has a two to the left. Now it would have made more sense for me to put these in as this document was created, but since it’s a pre-existing document, I have to do it. This way give me a minute to add a few more headings for the different sections of this document and then I’ll resume the video, ok, great I’ve set up now five sections or headings really in my word document.

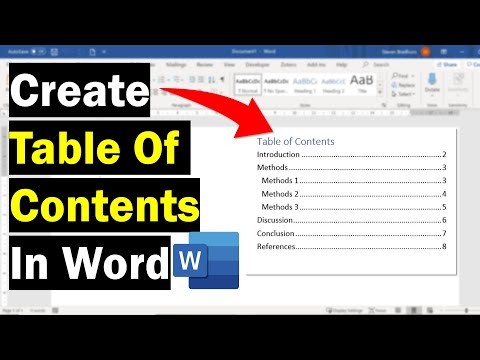
Now that my document has headings, I can just go to the references tab and if you don’t see that tab for some reason, you just need to write click on the toolbar and choose customize the ribbon and make sure that references is selected. So here on the references tab, the references ribbon here in the table of contents group you’ll see table of contents and if you click on that, you can set up an automatic table of contents. There’S a couple of different formats for that.

You can also set up a manual table of contents, and this one is quite a bit more work. There are also other options. You can get tables of contents from office comm. You can make a custom table of contents and you can do some other things. I almost always just stick with automatic table 1 or automatic table 2, and the differences are pretty subtle here I mean this one says table of contents. This one says contents and there may be a few other, really minor differences, but I’m just gon na go with contents and I clicked on it and notice what it did it added a page to my document.
This used to be a 10 page document. Now it’s an 11 page document and you’ll see that the table of contents was put where my mouse pointer was, and so that’s a mistake that I made it put the table of contents here. I don’t want it there, so I’m gon na hold ctrl and tap Z to undo table of contents and I’ll just browse up to the top, and I’m gon na click here at the very top of page 1, and I could of course, tap enter like 50 Times to clear off this first page and then use that as the table of contents.
But it’s a lot quicker and easier just to go here to the insert tab and there on the insert ribbon. It says pages and I can click there and add either a cover page or in this case I think a blank page would suffice. So I just clicked blank page and here I’ll click on the blank page. And now, if I go to references table of contents, I can pick automatic table 1 and it puts in that table of contents. Now at this point, if I want to change up some of the look and feel of this table of contents, I could do that.
For example, I could go here to design and change the theme etc, but that’s changing the theme of the entire document, not just of the table of contents. So just be aware of that, and you can see here there’s different options that you have that go along with that, so feel free to look at those, but just know that if it changes your table of contents, if you’re using design themes, it will change the Theme of the entire document, in most cases, okay, so this is looking great now, let’s explore what happens if your document changes so at this point, section 4 is on page 10, but what if that changes? Okay, so I’ve added several new paragraphs to the document. If I go back up to my table of contents, look it incorrectly says that section 4 is still on page 10.
So what do I have to do? I have to go up and click this update table button and, if I do that it says, word is updating the table of contents. Select one of the following options: update page numbers only or update the entire table in this case, update page numbers is sufficient. I don’t need to update the whole table, just the numbers, so I click OK and look. They update so that section 4 and section 5 are now properly listed as being on page 21 and page 23.
Similarly, if I add another section into this document, let’s say at the very end I click and I go in and I create another heading. This is gon na be section 6 and then I start typing and add that content again going back up here to the table of contents, you’ll see that it did not add section 5. So I would have to click to update table.
But if I update page numbers only, it doesn’t really change anything. I need to update the whole table and by doing that, it brings in section 6 now for some reason that affected my font. Some of the font now is bolded and some is not, but of course I can highlight and change that using the font options here, notice that next to the update table button, there is a button that you can use to switch from automatic table 1 to automatic Table 2: if you want to try that out or you can also try a manual table and customize it the way you want it to be.
So that’s what you need to know in order to create your own table of contents in Microsoft. Word thanks for watching this tutorial. I hope you found it to be helpful if you did.
Please click the like button below and consider connecting with me on my social media accounts like Facebook, Pinterest and Twitter, and definitely do subscribe to my YouTube channel for more videos about technology for teachers and students and when you do subscribe, please click the bell. Next to the subscribe button, if you do that, you’ll be notified whenever I post another video and watch for another video from me at least every Monday, if you’d like to support my youtube channel, consider becoming a supporter of mine through my patreon account and you’ll, see A link to that in the description below .