
Hi, this is Wayne again with a topic “Erica Synths EDU DIY Dual VCA Calibration”.
Hello, i’m robin and welcome back to multimodular diy, looking again at the erica synth edu diy vca, the dual vca that we built the other day. Now, when we got to the end of the build i’d kind of, we kind of got the whole thing together and we’re celebrating that. But we didn’t actually quite get around to the calibration because there’s a little bit of calibration required between those two transistors that are in there in order to make sure that everything is crossing the zeros at the right point and that everything is as it should be. So i spoke to moritz about it, just to get some tips on how best to calibrate and where exactly to press your your probes into, because when you were building it on the breadboard you would. You would put your probes at the output of the op-amp and i’m not entirely sure exactly where about that. That is on the pcb as such, but you don’t actually need to do that. There are two ways to calibrate the dual vca and i will show you both one with a scope and one actually probably much simpler without a scope so come on in and let’s have a look.
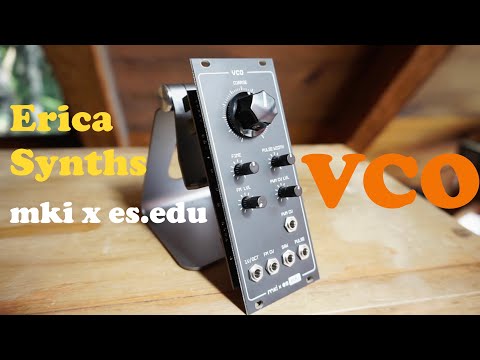
So here’s our dual vca that was just finished, i’m going to pump the output of the vco through it just so that we can hear it. And so what we’ll do first is we’ll take the scope and the old scope is my chinese scope and we’re going to attach the black probe to the shielding on the outside and the red one to the signal coming out of the end. We should then get a really nice signal of some sort if you can get it under control. That’S always good. There there’s our waveform coming through now in order to calibrate it we need essentially, what we’re doing is we need to shift this, so it’s over the zero point, so it’s in the middle, and we do that with the trimmer on the back now be careful because You have to do this while it’s plugged in, and you don’t want to be, you know, putting mild electric currents through yourself so with the first one, i’m using this fabulous tool, which is kind of like a shrouded screwdriver, which is perfect in fact designed for this. So you take the top trimmer, you stick it on and you rotate it until it sits in the middle looks right about there see that was easy.

Now the alternative way of doing it, if you don’t have a scope, is to actually listen to it and we’ll we’ll do this method for the second vca. So, instead of well, let’s first of all just put our signal through just to make sure that we are getting something through it. Yeah there you go, then what you’re going to do is take the output of your vco and plug it into the cv. Input put your offset to about in the middle now.
If you can hear the signal, it means that it’s not correct, because with calibration it should uh completely give you silence now. I can’t explain this entirely, but morris said this is what you do, so you plug the signal into the cv. Input go over to the back now. This one is a little bit harder to access because of the cable and rotate that second trimmer. Oh until the signal goes away, which should be it so that should now be calibrated. We can test that by plugging it back into the input and then taking the output through the scope again just to be sure so black onto the outside red onto the tip, and there is our waveform, which should be more or less in the middle super.

So there you go, although that’s interesting, because it doesn’t appear to be see, it seems to be just above zero on my scope. So maybe, if i adjust it again on here and see what happens if i do it, then the other way. So i just needed to come down a little bit down to about there.
I think if i adjust that down perhaps go a tiny bit more. No, i’m just talking nonsense. I would have left it at that the other bit then.
So, let’s turn that back up now, what i can’t account for is the accuracy of my scope. I don’t know whether i’ve messed something about or offset it slightly or all of those sorts of things. So i’m just putting that in the middle checking that out and then going to put the input into the cv input. So i am getting a signal through see.
If i can hear it, that’s what i’ve done go back to the back dial that down to nothing. I’M going to do the same on the top see i’ve still got a little bit coming out of the top, far more accurate doing it that way round. So that should be the dual vca properly calibrated. So there you go.
I hope that was helpful and do stay tuned for more uh erica since edu diy kit. Videos next one coming up is the case and power supply, which is quite exciting and then we’re going to develop into this whole nine module modulus system and each one i’m. I will take i’ll grab it with both hands and fight my way through the build on the breadboard understanding. What on earth is going on the components and then the build with the soldering and the testing and all that sort of business afterwards and over time over the next sort of six months, really we’re going to be putting together this modular system, which is awesome.
It’S such great value. It’S a lot of fun, you know, even through the effort and the work and the frustration. Sometimes the the opportunity is here to learn something really awesome and important, and deep about modular and synthesizers, and that’s that’s just amazing and i’m absolutely thrilled to be working. My way through it so do join us.
Do subscribe all those sorts of things that will be helpful if you’re feeling really adventurous, come and join us on patreon, where you can help fund the whole. The whole thing there’s always exciting things going on in the channel until next time go make some tunes .