Hi, this is Wayne again with a topic “Updated Project: SmartPhone Garage Door Opener”.
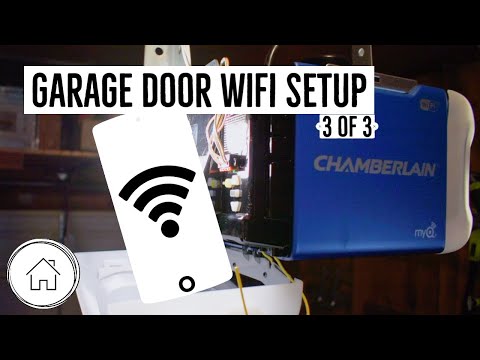
Welcome back to the workshop a few years ago, I built a smart phone control garage door, opener n I’ll, be honest. It was a little hinky. The relays I used were unreliable and, while it worked, I never loved the setup of having the two ganged relays together to work the way I wanted it to it’s more if the setup had no intelligence built into it. There’S no way for me to tell if the garage door was open or not when I was away from home, so I’ve updated it. I’Ve replaced the board with the aid of purred feather huzzah abort. I find a lot easier to work with to replace the relays with an opto, isolator and added a reed switch to report on the state of the door, I’m still using blink as the smartphone interface, but there’s a few new features packed into it. Opto isolator worked a lot like relays, but without any moving parts package in this four pin component is an LED and a photo transistor.
We need supply voltage to the LED side. The photo transistor closes completing the circuit. On the other side, they function like relays, but for low current circuits start by measuring how much space you’ll need on the perf board for the feather the opto isolator and all of your wiring components then trim the board down using a dremel, a bandsaw or whatever Tool, you have solder the feather board down next ID the opto isolator and connect, pin one of the opto isolator to pin 14 on the feather and then ground to ground connect, two more wires to the other side of the opto isolator. But leave these hanging loose for now connect another wire to the ground and one final wire to pin two.

I want to be able to easily disconnect the wiring to the garage door opener and the reed switch in case. I ever need to change the code, so I’m connecting the two loose wire pairs to these five millimeter DC power. Jacks, I’ve designed and printed my own enclosure to house the electronics and you can get those files by following the link in the description. But you should have no trouble fitting this into a premade enclosure. Next, let’s set up the program in blink, create a new project and give it any name. You like now we’re going to add a few widgets, an LCD display, a phone notification and two buttons for the LCD screen said it’s toggled to advance and its input to pin v3 one of the buttons will be used to open and close the garage door leave.

This as a push-button switch and connect it to GP 14, the other will be used to disable the door open warning notification, set it as a switch type and connected to v1. Give these buttons some useful labels that you like finally send yourself the off code via email before you upload the code. There’S a few settings. You need to change. First pasting, the off code from your sketch and then add in your network login details finally find the integer that I call out at the top of the sketch warned threshold. It’S the length of time before blink sends out the notification that the garage door is still open in my setup, stating the value to 2,000 sends the notification after about five minutes. If that sounds good to you upload your code, if you want to test things out before installing, you can set a multimeter to continuity mode and clip the test leads to the wires coming from the optimizer. When you tap the button to open the garage door, you should hear the tone of the closed circuit. You can test the read switch by touching the other two wire ends together for the installation. I found it easiest to mount the read switch above the garage door. The switch side barely clears as the door opens, and then I just needed to make a mounting bracket for the magnet side. Again, I was able to 3d print this. You could just as easily make one from wood, then cheap metal or whatever you have on hand. I have the enclosure mounted directly to my garage door, opener, because I have these two available button terminals, but you could just as easily wire this directly to your wall button as well, connect the sensor and switch to the board using five millimeter plugs power.
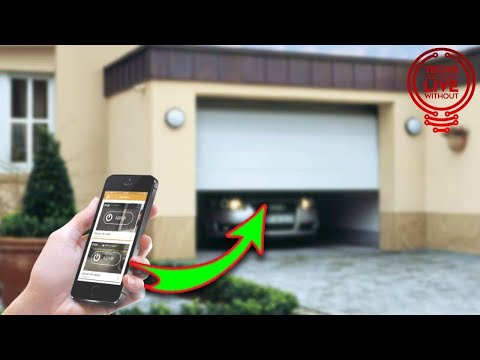
It up. You’Re ready to go, and that’s all there is to it, it works almost exactly how you’d expect it tap this button to trigger the door to open the read, switch should report the door opening almost immediately. You get an alert on your phone after a few minutes.
At the door is left open, but you can suppress that with this button. If you need to leave it open for an extended period and it will automatically reset once the door shut again, if you want to share the blink applet, anyone in your household, you can generate a QR code in the blink app that will allow you to share It now, of course, with any IOT device. There is a concern for security, but in general terms any radio based garage door is more likely susceptible to attack than the 32 character off.
Thanks for watching we’ll see you in the next article you you .