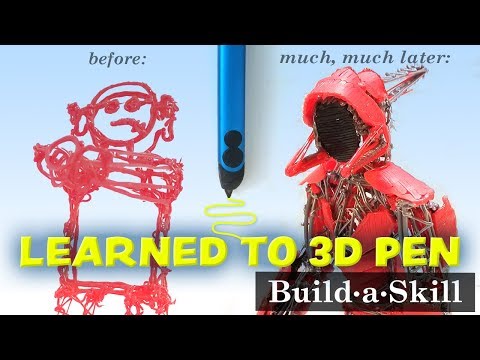
Hi, this is Wayne again with a topic “3D Printing Pen Tutorial”.
Today, i’m going to give you a basic introduction to 3d printing pens and how to use them. So, first of all what is a 3d printing pen? A 3d printing pen is like a small handheld 3d printer. Like all 3d printing devices, it works by heating, a plastic filament to its melting point and forcing it through an extruder tip. The melted plastic can then be worked into any shape that you want. The only difference is that, instead of being controlled with computer software and motors you’re guiding the printer head by hand, a 3d printing pen allows you to effectively draw with plastic.
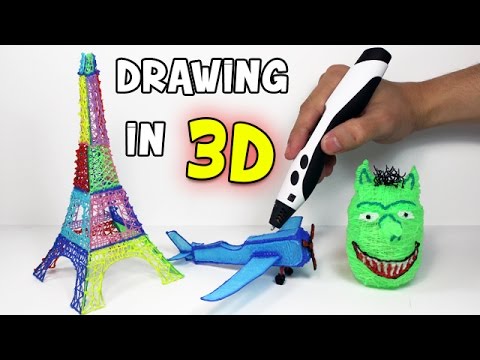
You can use this to add decorative details to a variety of surfaces. You can make 3d wire models, you can repair and modify other 3d printed objects with practice. You can even make 3d drawings in empty space to set up your pen start by connecting power and turning it on wait until the temperature light indicates that the pen is warmed up then insert a piece of filament and press the extrude button to begin feeding the Filament into the pen after a few seconds, the pen will start to extrude the melted plastic, now you’re ready to start drawing the easiest project. To start with is a simple 2d sketch. You can either start with a stencil or make up your own design from scratch. Press the extrude button and slowly move the pen across the surface to lay down a line of plastic, hold the pen close to the paper so that the melted plastic is applied to the surface before it cools. At the end of each line. Pause for a few seconds to let the last bit of plastic solidify before moving the pen away to connect two lines hold the tip of the pen over the junction long enough for the heat to fuse the two lines together continue adding lines until your sketch is Complete then gently peel, the plastic off the paper.
You can now use a pair of scissors or wire cutters to trim off any rough edges. After doing this, if you feel that the lines of your sketch are still a little too rough, you can stick it in a toaster oven for a few minutes set the temperature, just above the melting point for your filament. This will partially re-melt the plastic and soften up the edges.
The simplest way to make a three-dimensional object is to assemble it from 2d sketches start by sketching out. Each of the sides then hold them in position and attach them together with small drops of plastic at key locations. Once all the sides are in place, go back over each of the edges and apply more plastic to strengthen the connections.
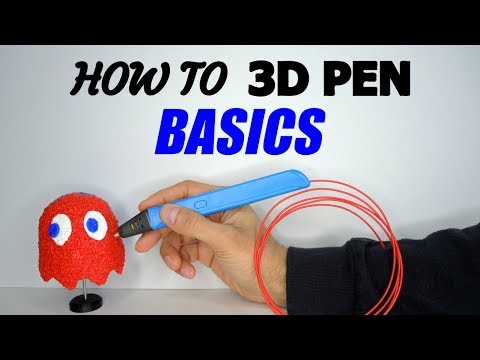
This is an easy way to make a wireframe model now it’s time to try freehand 3d drawing start by making a large drop of plastic to act as an anchor point, then slowly lift the pen off the paper while extruding to make a line wait for the First, section of plastic to harden before moving your pen to make curved lines you need to move the plastic around as it’s cooling. This can be pretty difficult and it takes a lot of practice to get the timing right. So don’t be discouraged if your first sketches aren’t perfect 3d printing pens can also be used to modify and repair other objects that are made from the same type of plastic as the filament, for example, legos are made from abs plastic. So it’s really easy to use this pen to customize your lego pieces. You can also use it to repair objects that were made on your desktop 3d printer. Well, that’s a basic introduction to 3d printing pens thanks for watching and check back next week for more diy hacks and how to’s .
